Reconciling an Account in QuickBooks Online
When handling your accounts in QuickBooks, it is important that all information kept is entirely accurate and up to date. To ensure this, QuickBooks has a reconciliation feature that allows you to match the end balance of your bank accounts against the balance shown in bank statements. To keep on top of your accounts it is best to reconcile every month, but the frequency can change depending on how many transactions come out of your bank accounts.
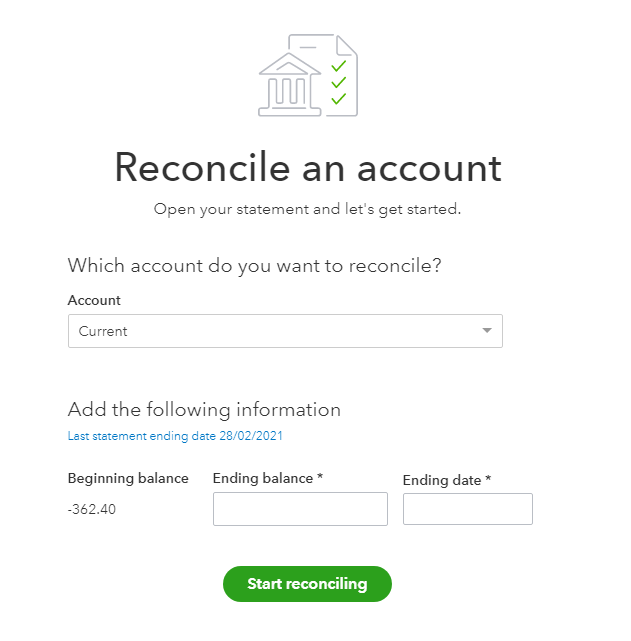
As soon as you open the reconciliation page, you will need to choose the account you would like to reconcile. The balance and date stated on your bank statement need to be entered.

From here, you can view every transaction that has been recorded through the account in QuickBooks and compare to those shown in the bank statement – make sure all transactions in the “for review” tab have already been categorised otherwise they won’t be shown in this screen. To ensure everything is precise between the two, tick off each correct transaction in the reconciliation screen if showing on the bank statement. Once this process has been carried out correctly, the difference should show as 0.

Every transaction in this screen should eventually be ticked to create this nought difference. If there are some transactions that aren’t ticked, these will most likely be incorrectly entered in QuickBooks. These transactions could either have been posted as paid by the wrong bank account, stated as an incorrect date, or possibly a duplicate where the transaction hadn’t been matched correctly against an expense/deposit. You will need to delete any obvious duplicates and mistakes, and exclude in the banking tab if your bank account has a direct connection to QuickBooks. Any other transactions you will need to click into these and edit to be correct, or manually import any transactions showing on the statement but not in QuickBooks. Once this is carried out eventually all transactions should be completely ticked.
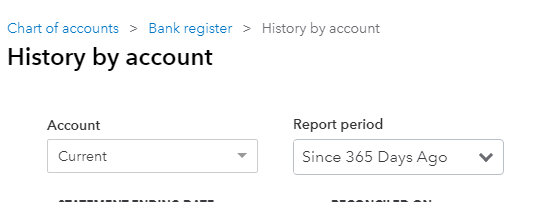
Using this screen, you can also view past reconciliations by selecting “History by account” in the top right-hand corner. This will show all previous reconciliations for this account and can change the date range and account using the drop-down menus. In this list, you can select “view report” to view the details of a specific reconciliation, to print the details off, or even undo (this will mean your account will show as unreconciled for the report selected and transactions in that date will need to be reconciled again). These reconciliation reports will show the date and ending balance of which the account was reconciled, which transactions were included, and which weren’t included in this reconciliation.

After carrying out this task, it will allow for more accurate data to be shown in QuickBooks for this date – by reconciling the accounts it will ensure all transactions are correct. This means that all reports will be more accurate up to this date and will help ensure all financial information is as precise as possible. For example, a Profit and Loss report will provide a more accurate overview of the business now that bank accounts have been reconciled, which will be a great asset in managing your business!
You may also like…
Time tracking in QuickBooks
Using tags in QuickBooks
Tracking Stock in QuickBooks
QuickBooks banking tab
Taking security deposits in QB
CIS QuickBooks update


